- Xinheng Blvd,Taizhou,Zhejiang,CHINA
- [email protected]
- +8613065722186
How to make a gift bag out of wrapping paper?
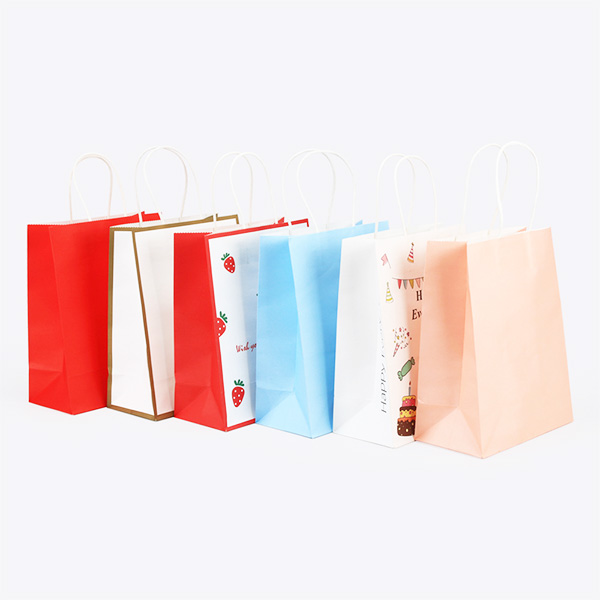
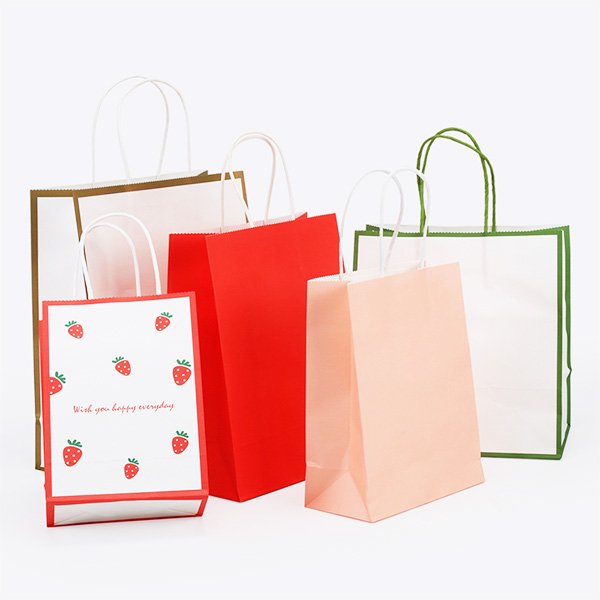
Gift bag is a decorative and convenient way to present a gift. It is typically a small bag made from various materials, such as paper, fabric, or plastic, and is designed to hold gifts of various sizes and shapes. Gift bags are often used as an alternative to traditional gift wrapping, which involves covering a gift with wrapping paper and tape.
Creating a gift bag out of wrapping paper is a fun and creative way to present your gifts. Here’s a step-by-step guide on how to make a simple gift bag using wrapping paper:
Materials Needed:
- Wrapping paper
- Scissors
- Double-sided tape or glue
- Ribbon or string
- Hole punch (optional)
Steps:
Choose Your Wrapping Paper: Select a piece of wrapping paper that you like. The size of the paper will determine the size of your gift bag. Make sure the patterned side is facing down on your work surface.
Measure and Cut: Measure and mark the dimensions you want for the bag on the backside of the wrapping paper. Keep in mind that the width will be the bag’s circumference, and the length will be the bag’s height.
Fold the Bottom Edge: On the longer side of the wrapping paper (the one that will become the bag’s height), fold up a flap that’s about one-third of the total height. This will be the bottom of the bag.
Secure the Bottom: Apply double-sided tape or glue along the edge of the flap you just folded. Then, fold the other side of the wrapping paper over the flap to create a tube shape. Press down to secure the adhesive.
Fold the Top Edge: At the top of the bag, fold down the edge to create a clean, finished top.
Create the Bag’s Opening: On one of the long sides of the bag, fold the top edge down about an inch to create the bag’s opening. This will also strengthen the opening.
Add Handles: On both sides of the bag, make two small cuts parallel to the top fold. Make sure these cuts are aligned. If you have a hole punch, you can use it to create holes above these cuts. Then, thread a ribbon or string through the holes to create handles. Tie knots on the inside of the bag to secure the handles.
Finishing Touches: Open up your bag and check the handles for strength. Adjust and reinforce with additional tape or glue if needed. Now, your gift bag is ready to be filled with presents! You can add tissue paper or other decorative elements to enhance the presentation.
Remember, practice makes perfect. Your first attempt might not be perfect, but with a bit of practice, you’ll get the hang of making gift bags out of wrapping paper. If you prefer visual instructions, consider searching for online tutorials or videos that demonstrate the process step by step.
Taizhou Hongze Packaging Co.,Ltd is a leading and professional manufacturer for custom packagings,which was certified by FSC.We can be your trustworthy and reliable business partner.
©2025 Hongze Packaging All Rights Reserved.